Needle Felting for Beginners: Tools, Easy Steps & First Projects

New to needle felting? Learn the essential tools, simple steps, common beginner mistakes, and how to choose your first cute DIY needle felting kit.

October 30, 202611 min read
Needle Felting for Beginners: Tools, Easy Steps & First Projects

Have you ever looked at a tiny wool animal and wondered how a handful of fluffy fibers could turn into something so detailed? That is the fun of needle felting. You start with loose wool, a special barbed needle, and a simple idea. Little by little, you shape the fibers into a soft sculpture that feels entirely your own.

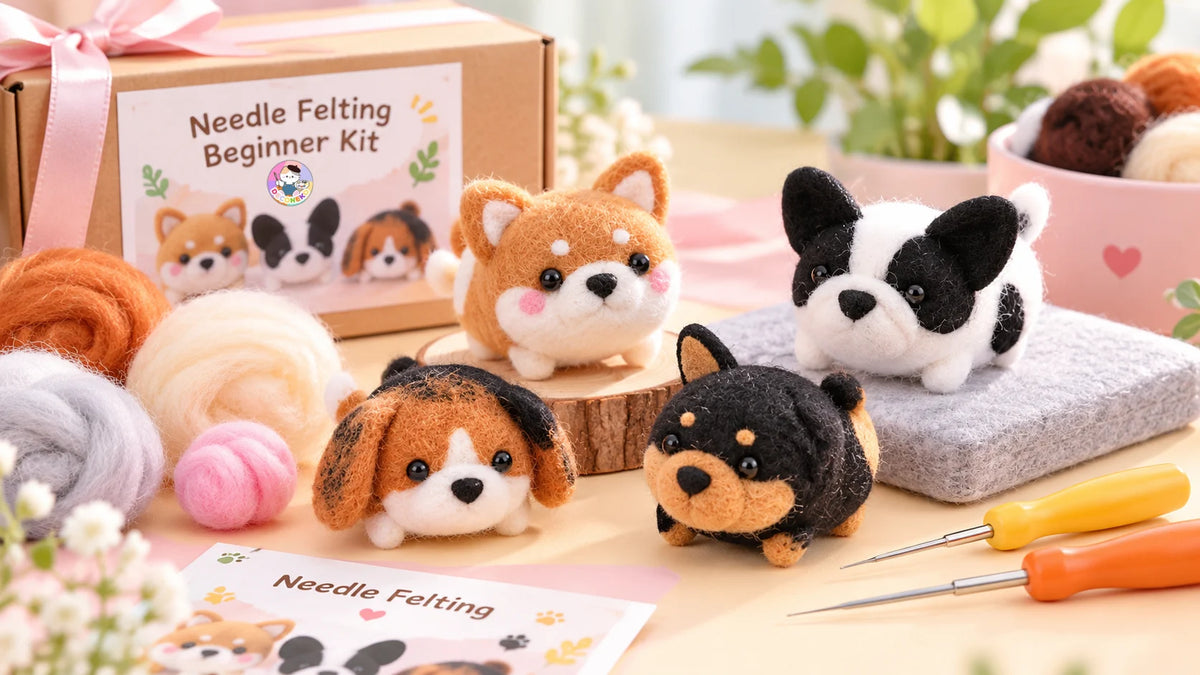
If you are new to the craft, you do not need to start with a complicated character. A small round figure, a simple animal, or a kit with clear instructions can teach you the basic movements while giving you a finished piece to enjoy.
What Is Needle Felting?

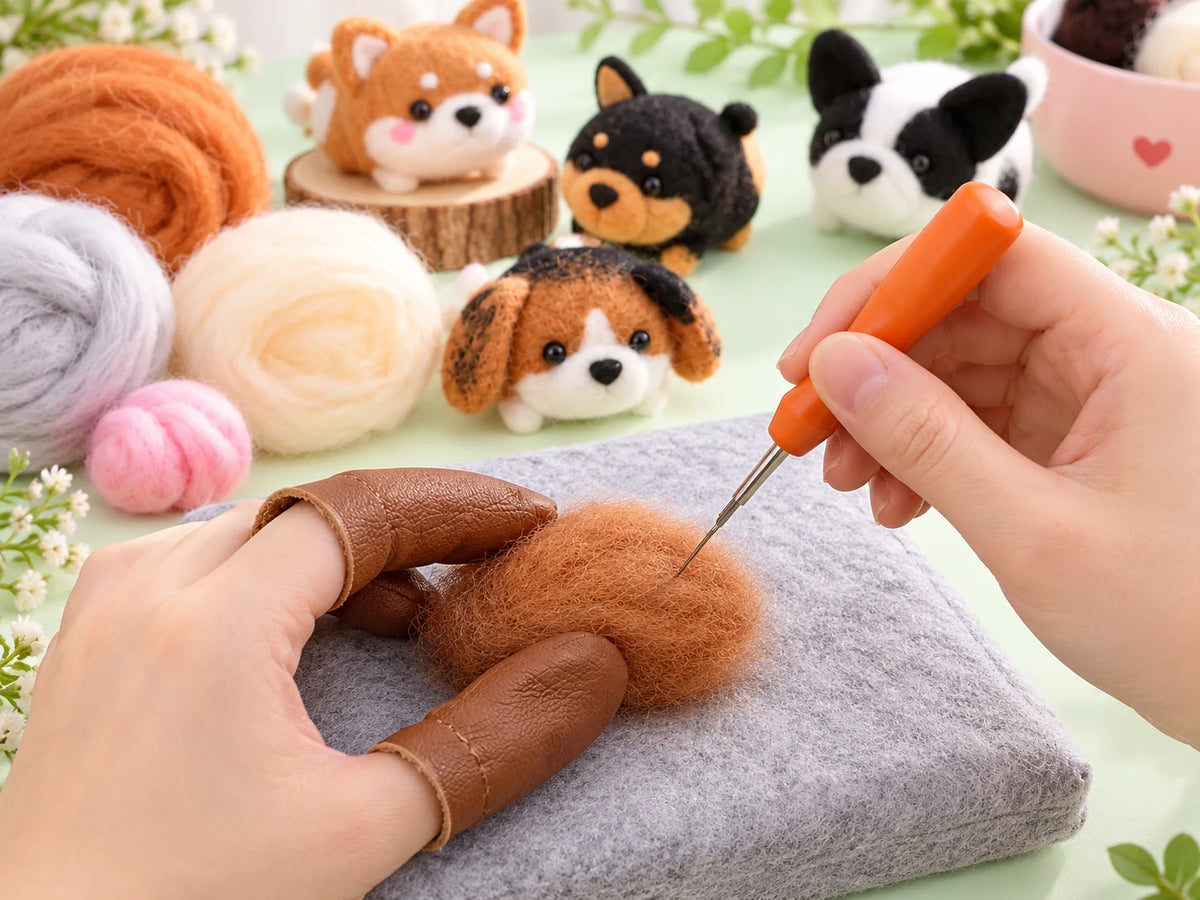
Needle felting is a dry-felting craft that uses a specially designed barbed needle to tangle wool fibers together. As you repeatedly poke the wool, the loose fibers begin to hold their shape. 

By changing the angle, adding small pieces of wool, and working one area at a time, you can create rounded bodies, ears, faces, leaves, and other details.

Unlike wet felting, which typically uses water, soap, and rubbing or rolling to bind fibers, needle felting works through controlled needle movements. It is especially useful for small three-dimensional figures and decorative details.

The basic idea is easy to understand, but neat results take practice. Your first project does not have to look exactly like the example photograph. Learning to control the shape is part of the experience.

What Do You Need to Start Needle Felting?

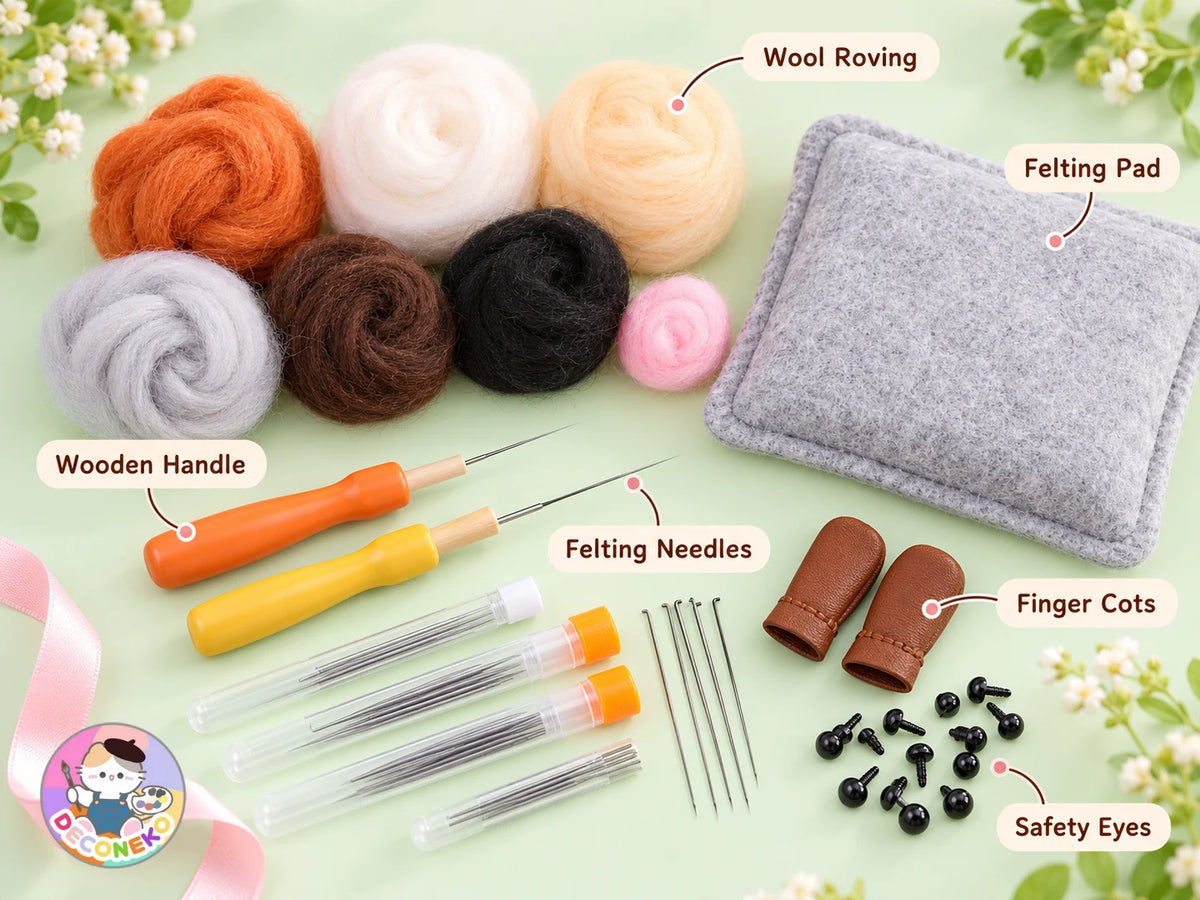
Before choosing your first design, get comfortable with the essential materials:

  • Felting wool: Loose wool fibers are the material you shape into your project. Different textures and amounts of wool can affect how quickly the form firms up.
  • Felting needle: The barbed needle binds the fibers as you poke. It is extremely sharp and can break if bent or forced sideways.
  • Felting pad or mat: A protective working surface gives the needle somewhere safe to travel when it passes through the wool.
  • Optional finger protection: Finger guards may help reduce accidental pokes, but you should still keep your fingers away from the needle path.
  • Project instructions and accessories: Depending on the design, a kit may include details such as eyes, keychain hardware, or other finishing supplies.

A beginner kit can simplify the shopping process because the wool colors and key materials are selected for one design. Still, check the specific product listing: the contents and accessories are not identical across every kit.

How to Needle Felt: Your First Project in 6 Easy Steps

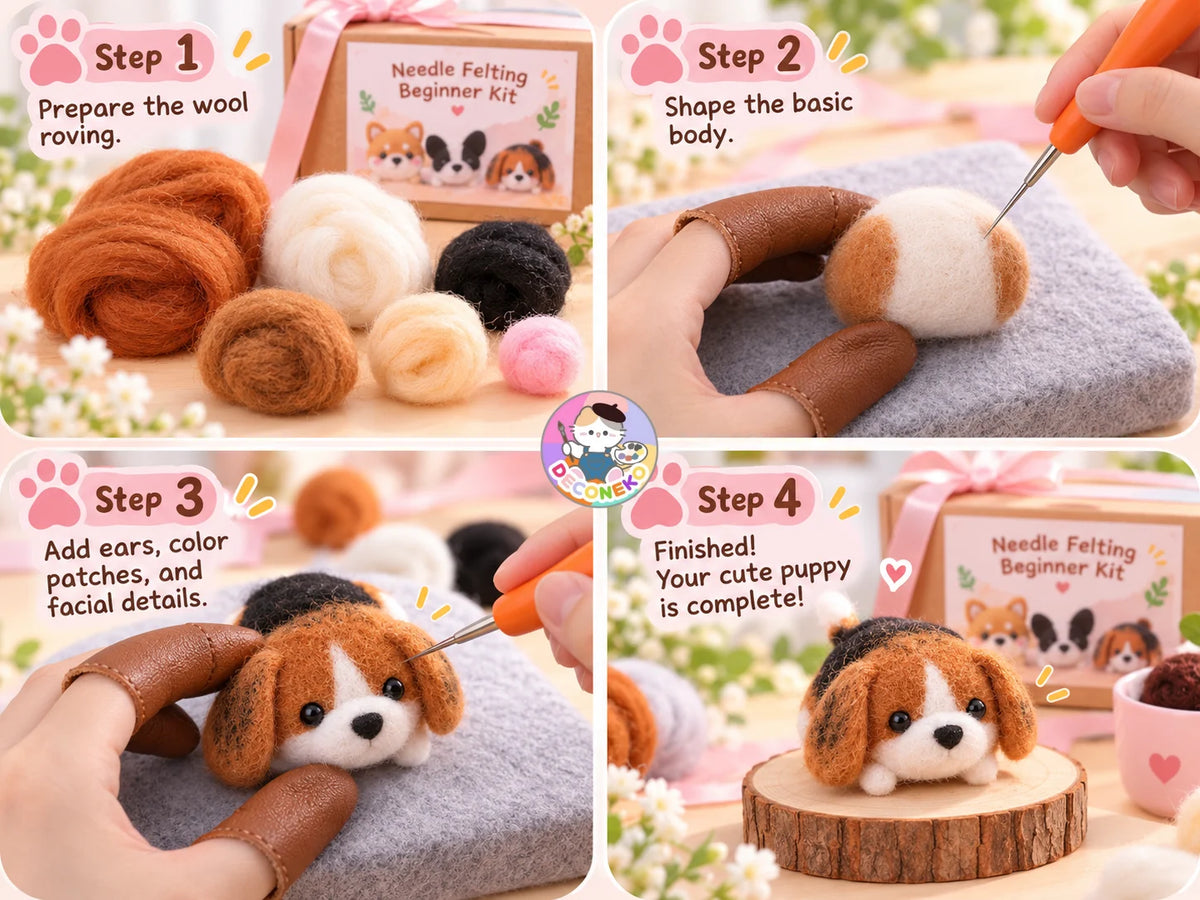
Step 1: Choose a simple shape
Start with a ball, oval, or gently rounded body. These shapes help you practice making the wool firm without worrying about tiny features. If you choose an animal, begin with its largest body section.

Step 2: Pull apart and gather the wool
Take a small amount of wool and gently tease the fibers apart. Fold or roll it into the rough shape you want. Begin slightly larger than the intended result: the wool compresses as you work.

Step 3: Start felting on a protective mat
Place the wool on the felting pad. Holding the needle mostly straight, poke the fibers with short, controlled movements. Turn the wool regularly so all sides become evenly felted. Keep your free hand outside the needle path.

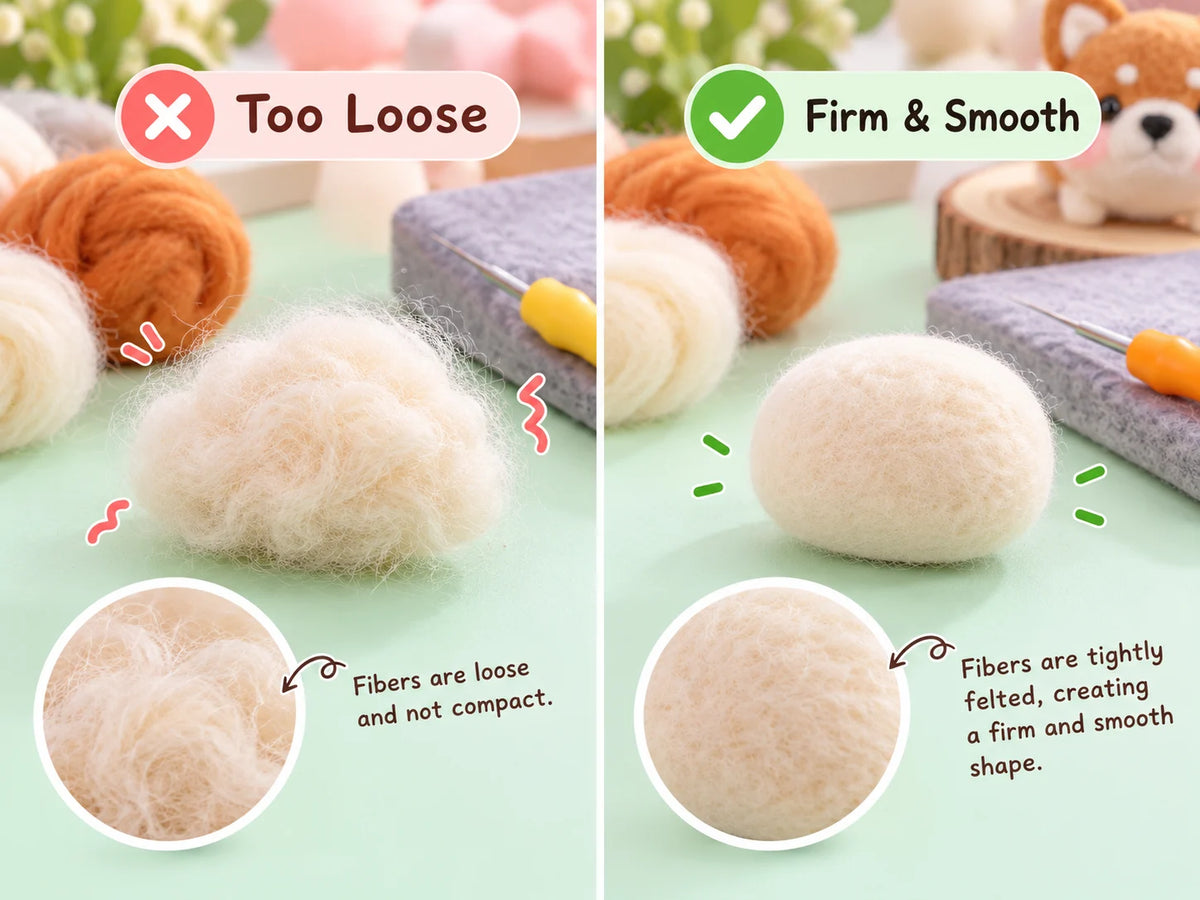
Step 4: Build a firmer, more even form
Continue working gradually. Soft spots may need more felting; overly dense areas are harder to reshape. If one side looks too small, add a thin layer of wool and felt it into the surface instead of trying to stretch the existing fibers.

Step 5: Add colors and smaller details
When the main shape holds together, add thin wisps of wool for markings, cheeks, ears, or clothing. Smaller amounts are easier to place accurately. Work slowly around facial features, and follow any project-specific instructions for attaching accessories.

Step 6: Check the shape and finish
Turn the piece in your hands and look at it from all angles. Smooth loose fibers with careful, shallow felting where needed. Trim stray fibers only if appropriate for the project and follow the kit’s finishing instructions.

5. Common Needle Felting Mistakes β€” and How to Fix Them

1. Using too much wool at once
A large, tightly folded bundle can be awkward to shape. Work in smaller layers, especially for details. You can always add more wool later.


2. Poking sideways or bending the needle
Felting needles are delicate as well as sharp. Poke in and withdraw along the same path rather than levering the needle sideways. Replace a bent or broken needle before continuing.


3. Felting only one spot
Repeating every poke in one area can create an uneven or overly dense patch. Rotate your project frequently and check the silhouette from several angles.


4. Adding details before the base is ready
Tiny ears and facial details are easier to position when the body holds its shape. Finish the main form before investing time in small decorations.


5. Expecting a perfect result immediately
Hand-felted figures naturally have small differences. If your first animal looks a little different from the example, you are still learning exactly the skills you need: shaping, layering, and controlling density.

Easy Needle Felting Projects for Beginners

Choosing a first project is often more important than choosing the most ambitious design. Here are a few approachable directions:

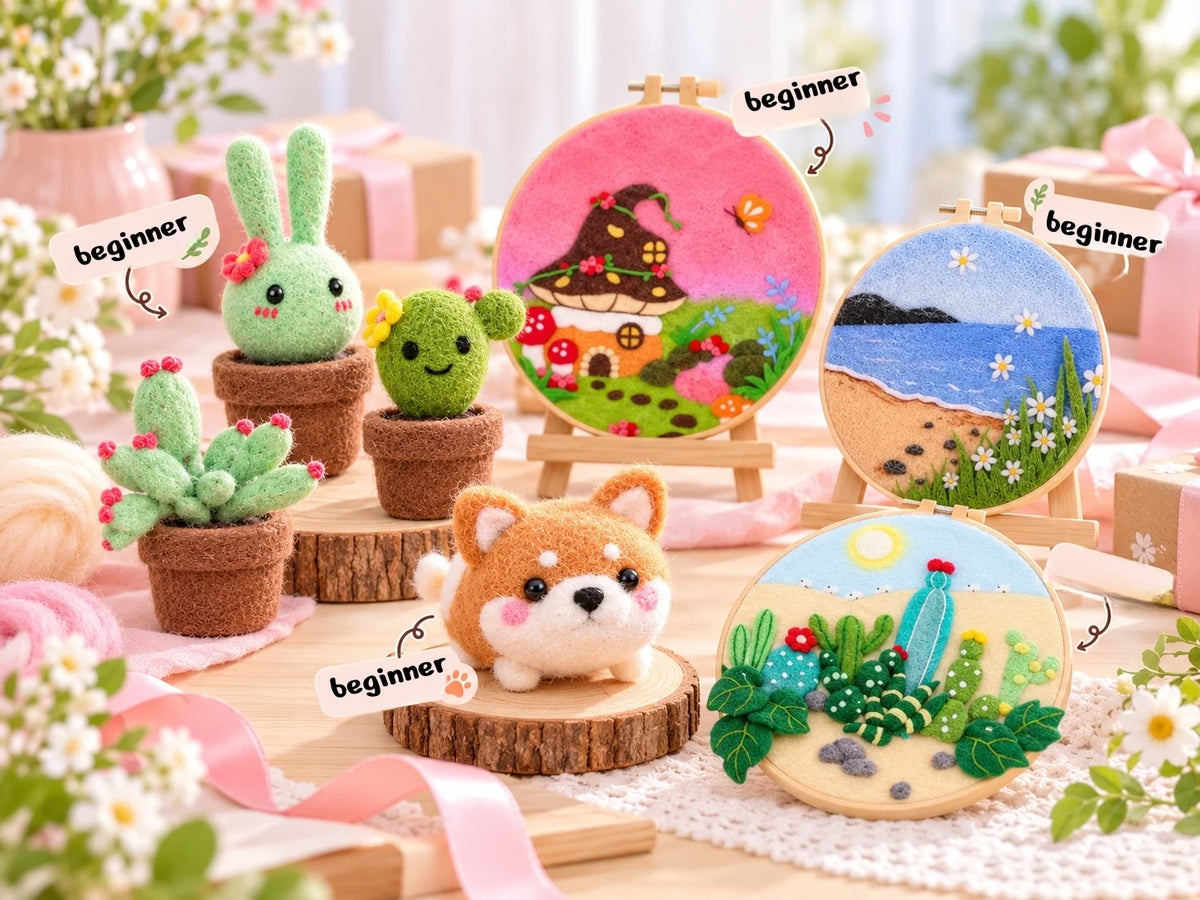
  • Tiny rounded animals: Small bears, penguins, or other simplified characters give you a chance to practice basic bodies and facial details.
  •  Simple seasonal ornaments: A holiday character can be a fun beginner project when the shapes are manageable and the instructions are clear.
  • Mini plants or mushrooms: These designs introduce stems, caps, leaves, or color layering after you have learned to felt a basic form.
  •  Wool landscapes or hoop art: Flat or shallow-relief projects are another way to explore fiber placement and color composition.

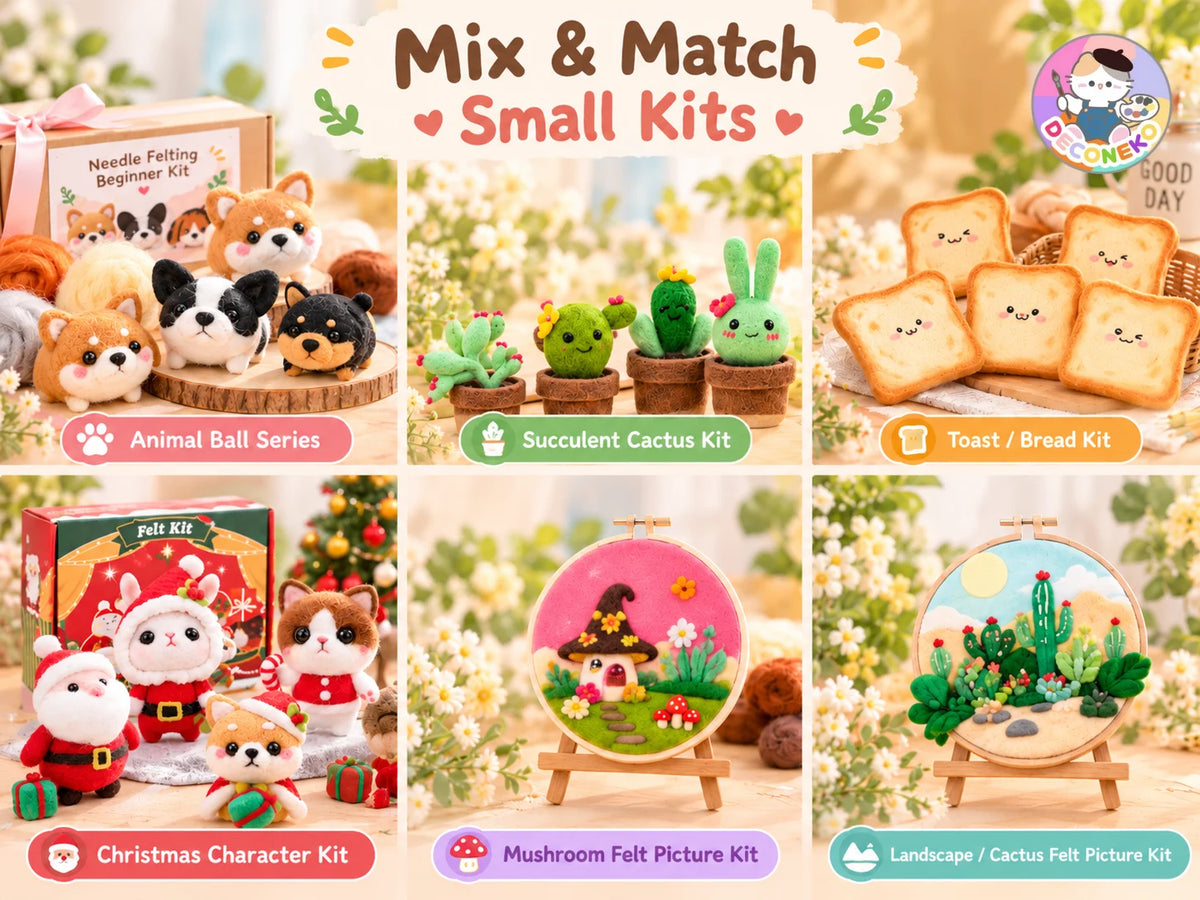
At Deconeko, you can browse different needle felting kits by design and project type. A small character kit may be a practical first choice, while multi-piece sets and detailed landscapes give you more to explore once you feel comfortable with the needle.

How Do You Choose Your First Needle Felting Kit?

Look beyond the final photograph and ask a few practical questions. Is this a single small figure or several projects? Are the basic needles and work surface included? Does the listing provide step-by-step guidance? Are there tiny details that might be difficult for your first attempt?

If you want the satisfaction of finishing a complete piece, pick a design with a clear main shape and a manageable number of details. If you enjoy longer craft sessions, a set with several figures can give you more practice with the same technique.

Needle felting involves sharp tools and requires care. It is not suitable for young children working independently; any activity involving children should be supervised by a responsible adult, with the kit’s age guidance followed.

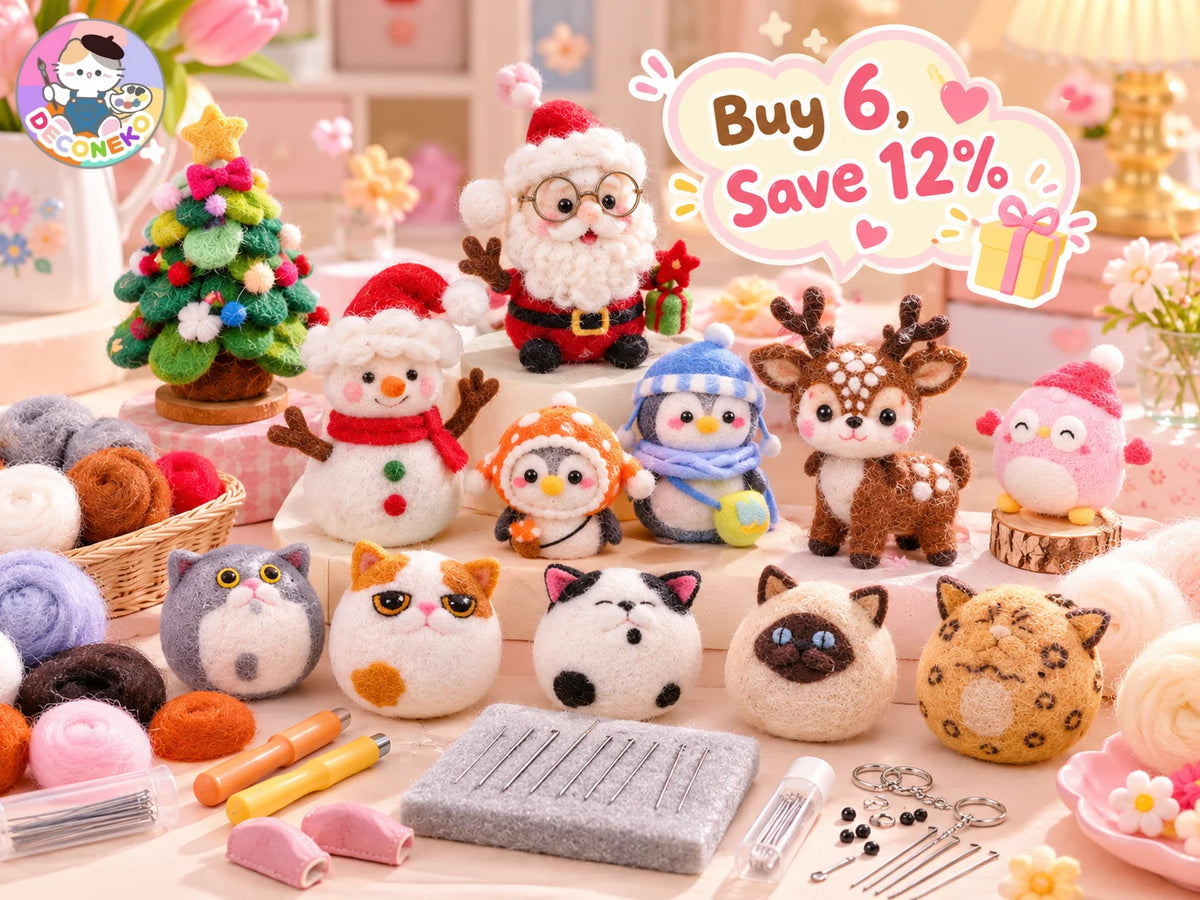
Enjoy 12% offΒ 

Buy six eligible mini needle felting kits and enjoy 12% off your qualifying selection. Explore the collection to pick your next projects.

✧ ✧

Needle Felting FAQ

✦ ✦
The basic process is approachable, but creating tidy shapes and small details takes practice. Begin with a simple project and allow time to learn the technique.
It depends on the size, complexity, your experience, and how firmly the wool needs to be felted. A small design may take much less time than a multi-figure or detailed landscape project. Follow the guidance provided for your chosen kit rather than relying on one universal time estimate.
Often, yes. You can add small layers of wool to build up an area or continue carefully felting a section that feels too loose. Very dense shapes can be more difficult to change, so adjust the form gradually.
Try a similar figure with different colors, a slightly more detailed animal, a mini plant, or a seasonal character. Repeating a basic form is useful practice.