Craft Guides

How to Use Deco Cream: Beginner Tips, Drying Time & Common Mistakes

Learn how to use deco cream for decoden crafts, including piping tips, charm placement, drying time, beginner advice, and common mistakes to avoid.

September 12, 20268 min read
How to Use Deco Cream: Beginner Tips, Drying Time & Common Mistakes

What Is Deco Cream?

Deco cream is a whipped-looking craft material commonly used in decoden projects. It is usually piped through a decorating tip to create raised ridges, swirls, or frosting-like textures. While the cream itself is a material, decoden refers to the broader decorating style that combines cream, charms, beads, rhinestones, and other embellishments into a finished design.

You may also see similar craft materials described as cream glue. Product names and formulas can vary, so always follow the instructions for the specific cream you are using, especially for drying and curing.
Before You Start: Prepare the Project First

A cleaner setup makes deco cream much easier to control. Before opening the cream, decide what you are decorating and roughly plan your layout.

  • Choose a clean, dry craft base. Dust, oil, or loose residue can make decorating more difficult.
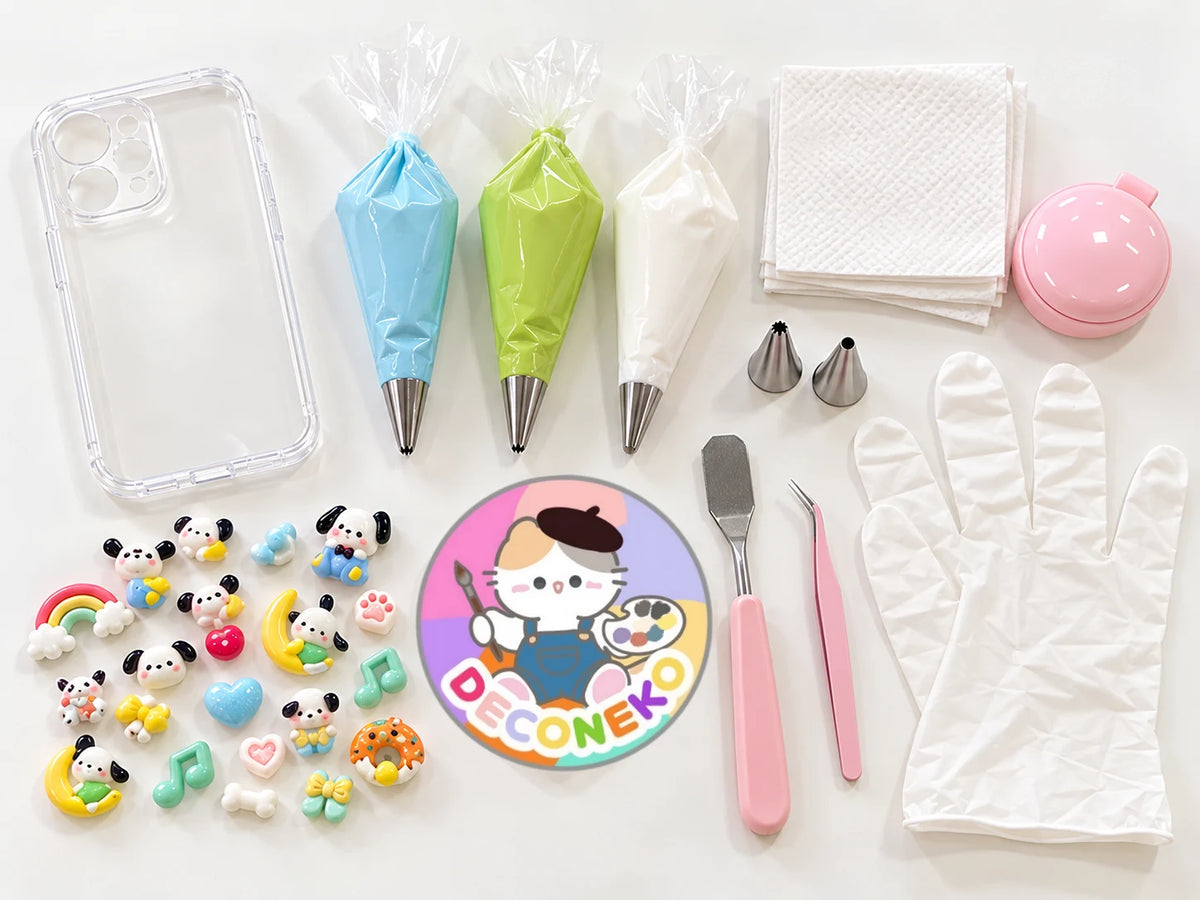
  • Prepare your deco cream or cream glue, piping bag and tip if required, main charms, smaller fillers, and a placement tool such as tweezers.
  • Lay out your larger charms before you pipe. A quick test arrangement helps you see where the main focal points will go.
  • Keep a wipe, cotton swab, or small cleanup tool nearby so you can fix fresh smudges before the material begins to set.

For a first project, one clear colour palette and a smaller selection of charms is usually easier to manage than trying to use every decoration at once.

How to Use Deco Cream Step by Step

1. Test the flow before starting on the final piece: If possible, squeeze a small amount onto scrap material first. This lets you feel how much pressure is needed and how quickly the cream comes out. It also gives you a chance to check the shape created by the piping tip before you work on the real project.

2. Keep your pressure as consistent as possible: Uneven pressure is one of the main reasons a piped line suddenly becomes very thick, very thin, or broken. Hold the bag comfortably and try to squeeze with a steady motion rather than stopping and restarting every few millimetres.
You do not need perfectly identical swirls. Decoden is a handmade craft, and a little variation can still look charming. The goal is a deliberate texture rather than perfect symmetry.

3. Avoid piling on too much cream at once: A very thick layer can make the design feel heavy and may take longer to cure. It can also make larger charms sink or shift. Start with enough material to create visible texture and support your decorations, then add more only where the design needs it.

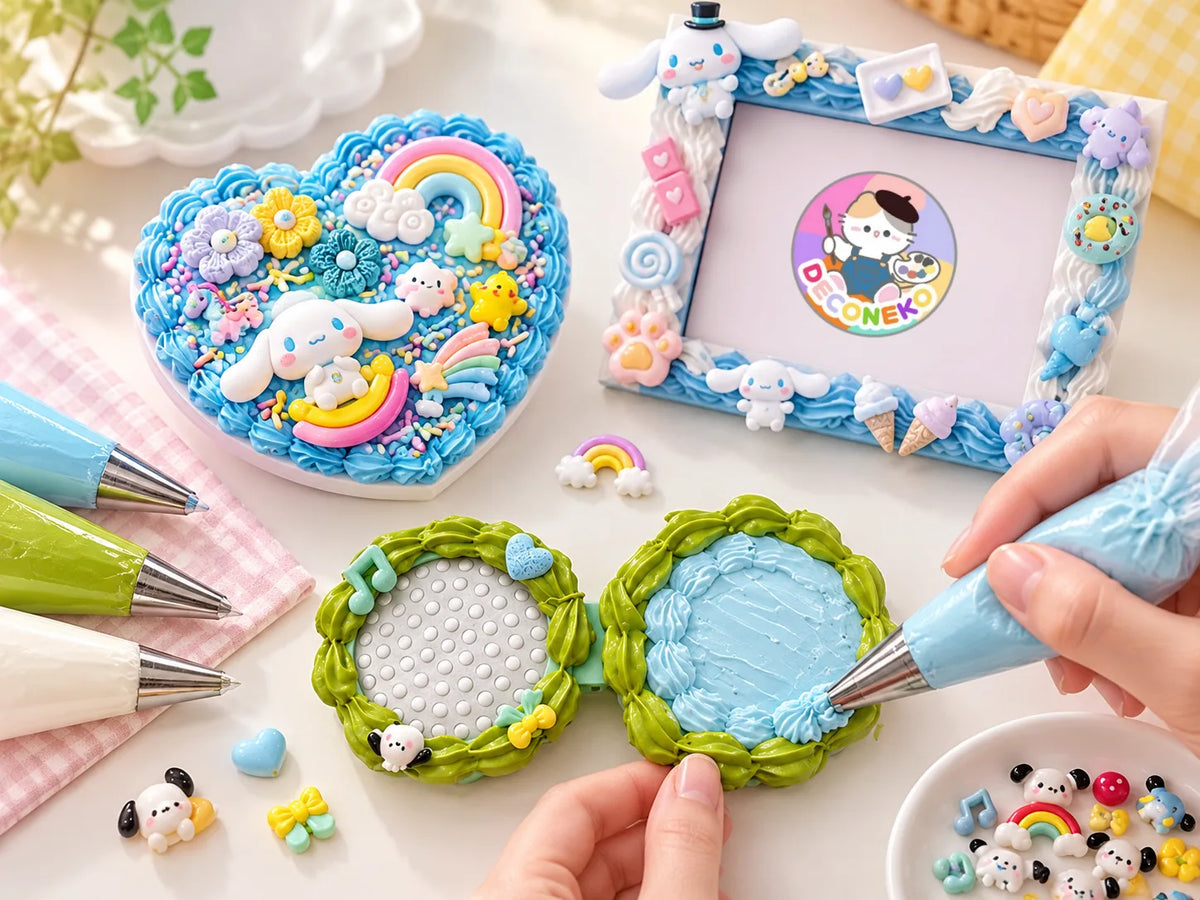
4. Add the main charms while the cream is still workable: Place the larger focal charms first, then fill smaller gaps with beads, pearls, rhinestones, or mini decorations. This is easier than placing many tiny pieces first and later discovering that there is no room for the main charm.
Press each decoration gently into the cream so it sits securely without flattening all of the piped texture around it. For unusually heavy pieces or surfaces that need a different bonding method, follow the instructions for the materials you are using.

5. Stop before the design becomes overcrowded: It is easy to keep adding charms because the empty spaces look tempting. Before filling every gap, step back and look at the whole piece. Leaving a little visible cream between decorations often makes the finished design easier to read.

How Long Does Deco Cream Take to Dry?

There is no single drying time that applies to every deco cream or cream glue. Formula, layer thickness, room temperature, humidity, airflow, and the size of the project can all affect how quickly the material sets.

A project may feel dry on the surface before the thicker cream underneath has fully cured. For that reason, the safest approach is to follow the curing time listed on the product or kit instructions and avoid handling the piece too early.

While it dries, keep the project flat in a clean area where it will not be bumped, pressed, or covered. Avoid trying to speed up the process with strong heat unless the product instructions specifically say that it is safe to do so.

If you are unsure whether the piece is ready, give it more time rather than repeatedly touching the cream to test it. Early handling is one of the easiest ways to smudge piping or move charms out of position.

Common Deco Cream Mistakes to Avoid

  • Using too much cream: A very thick layer can overwhelm the base and make the surface harder to control. Build the texture intentionally rather than squeezing out as much material as possible.
  • Changing pressure constantly: Sudden changes in pressure create uneven piping. Practice the squeeze on scrap material first and keep your hand movement relaxed.
  • Waiting too long to place charms: If the surface has already begun to set, decorations may not sit the way you planned. Have your main pieces ready before you start piping.
  • Crowding every empty space: More charms do not automatically make a design better. A few visible areas of cream can help the main decorations stand out.
  • Moving the project while it is drying: Tilting, stacking, packing, or repeatedly checking the piece can shift the cream or decorations before they have fully cured.
  • Testing the surface too early: A fingertip mark can be difficult to hide once it has pressed into the texture. Follow the product instructions and give the project enough time.

Beginner Tips for Cleaner Results

  • Take a quick photo of your charm layout before piping so you have a reference when you start placing pieces.
  • Work from larger focal pieces to smaller fillers.
  • If a project is large, work in manageable sections instead of rushing to cover the entire surface at once.
  • Keep your piping tip clean. Dried or smeared material around the opening can affect the shape of the next line.
  • Use one or two main colours when you are learning. A simpler palette makes it easier to judge spacing and balance.
  • Do not chase perfect symmetry. A balanced handmade composition usually looks better than forcing every side to match exactly.

Can You Fix Deco Cream Mistakes?

Small mistakes are easiest to correct while the material is still fresh. If a section is badly smudged, it may be possible to carefully remove that area and pipe it again, depending on the surface and the product you are using.

Once the cream has cured, corrections become much more difficult. That is another reason to work slowly, keep cleanup tools nearby, and check the overall layout before leaving the project to dry.

Ready to Try a Deco Cream Project?

Once you understand the basic rhythmβ€”plan the layout, pipe the cream, place the main charms, add smaller details, and let the project cureβ€”deco cream becomes a very flexible craft material.

If you want to start with a ready-to-use project, explore Deconeko’s Cream Glue DIY Kits for phone cases, mirrors, storage boxes, accessories, and other beginner-friendly designs.

You can also continue with our beginner tutorials: learn more about what deco cream is, see how decoden differs from deco cream, or follow our step-by-step guide to making a decoden phone case.

✧ ✧

Cream Glue & Decoden Kit FAQ

✦ ✦
In many DIY craft contexts, the terms are used for similar whipped decorative materials, although naming and formulas vary between brands. On Deconeko, both terms may be used when describing this style of craft material.
Yes. Deco cream is commonly used on mirrors, storage boxes, combs, photo frames, pencil cases, and other suitable craft surfaces. The best surface depends on the material and the product instructions.
That depends on the cream formula, charm weight, and surface. Many deco cream projects place charms directly into the fresh cream, but heavier pieces or unusual materials may require a different bonding method. Follow the instructions for the materials you are using.
Seal and store it according to the package instructions. Keeping the opening and piping tip clean can also help prevent dried material from affecting the next project.